山姆的編程實作分享。。。

Sam Blog, Sam Sharing, Sam Studio

顯示具有 ESP32 標籤的文章。 顯示所有文章

2020年11月11日

[MicroPython 教學] The Best MicroPython IDE - PyCharm


MicroPython 官方並未提供整合的 GUI 開發環境 ( IDE : Integrated Development Environment ),僅提供 Command Mode Tools,讓開發者可以更新 firmware 以及替換板上檔案而已;但這樣的開發環境著實提高了入門門檻!


還好,在 GitHub 原始碼開發平台上,無私的開發者幫 MicroPython 解決了這樣的困境;例如 Visual Studio Code 以及 PyCharm 都有無數的 Micropython 套件 (Extension / Plugin) 供開發者選用,甚至有些組織還提供 MicroPython 專屬的 IDE。


但在親身體驗這些套件或 MicroPython 專屬的 IDE 後,發覺 MicroPython 專屬的 IDE 往往是連安裝都有問題,許久未見更新;一些套件則是缺東缺西,不夠完善,往往無法同時支援 PyBoard / STM32 boards 以及 ESP8266 / ESP32;唯有 PyCharm 的 MicroPython 套件最為完善,同時支援 PyBoard 以及 ESP8266 的下載方式,並且在 IDE 的開發環境下,整合了 AMPY ( Adafruit Micropython tool ) 。 


安裝

PS : 在安裝 PyCharm 前,記得先完成 Python 3 的安裝。


PyCharm 下載網址 ,安裝完成 PyCharm 後,請點選

" File -> Settings -> Plugins -> Marketplace ",然後搜尋 MicroPython 套件,並且安裝它。安裝完成 MicroPython 這套件後,請依照提示重新啟動 PyCharm ,以完成MicroPython 套件的安裝以及啟動。


New MicroPython Project

完成 IDE 以及MicroPython 套件的安裝後,接著就是來生成 MicroPython 的專案了;請點選 " File -> New Project…",接著就會跳出如下的 "Create Project”的視窗。
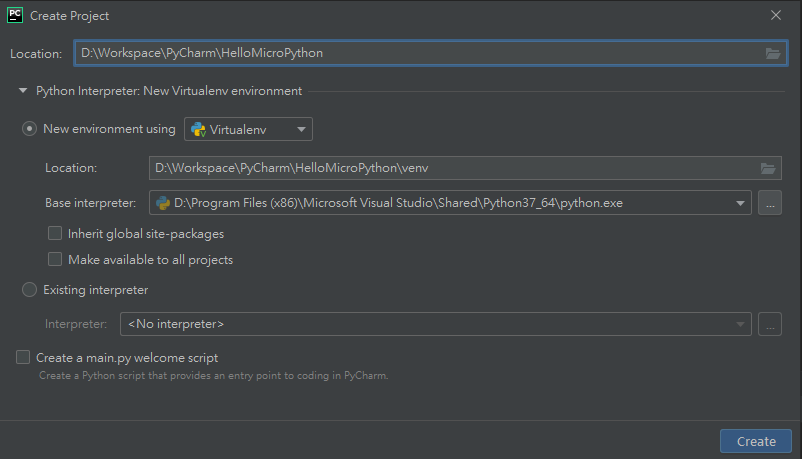


請在 " Location:”指定專案的開發路徑及資料夾,這裡,我的專案名稱是 "HelloMicroPython”,然後點選 " Create”生成專案。


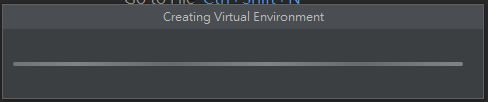
PS : PyCharm 是一套針對 Python 語言開發的 IDE ,所以每個專案都有各自的虛擬環境 ( Virtual Environment )。


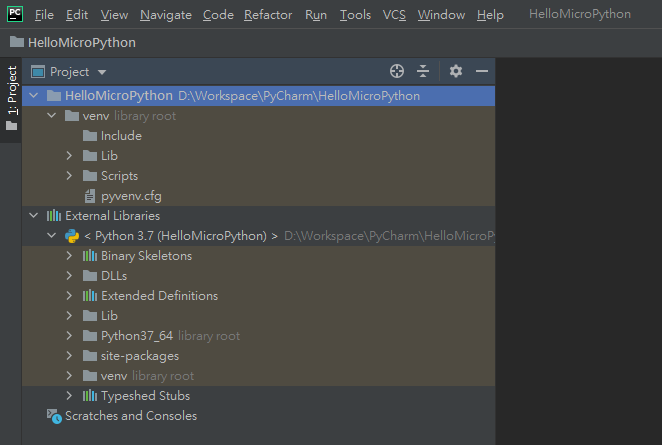
完成新專案的生成後,你應該可以看到如下圖的專案檔案結構,此時的所有檔案都只是 Python 新專案的相關聯檔案以及虛擬環境,還算不上是 MicroPython 的專案。


請點選 " File -> Settings -> Languages & Frameworks -> MicroPython ”

然後勾選 "Enable MicroPython support”。

接著在 "Device type”,點選你的開發板種類;如果你的開發板是 ESP8266 或 ESP32 則點選 “ESP8266",若是 STM32 系列,則點選 "Pyboard”。

在 "Device path” 填入 Serial Port 的路徑,如 COM3 。

最後在點選 "OK",這樣新專案的屬性才會轉換成 MicroPython 的專案。


PS :  如果是在 Ubuntu 的環境下,則是填入 /dev/ttyUSB0 或 /dev/ttyACM0 


main.py

到這一步驟, 只是建立一個 MicroPython 的新專案而已,main.py 還未被產生。

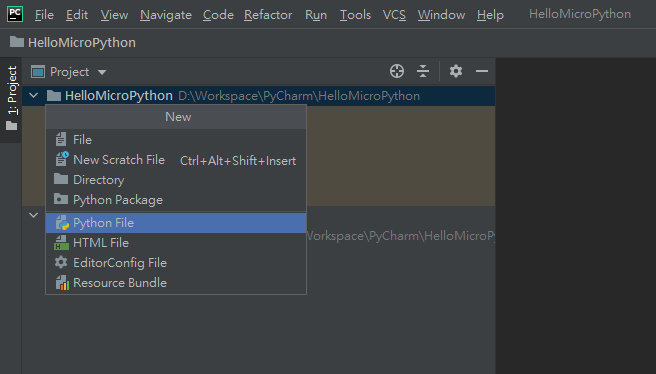
請點選 " File -> New... ”

然後選擇 "Python file”並填入新檔案名稱 "main.py",接著按下 Enter 鍵。


此時 "空白的" main.py 就被建立在專案檔案結構下了。
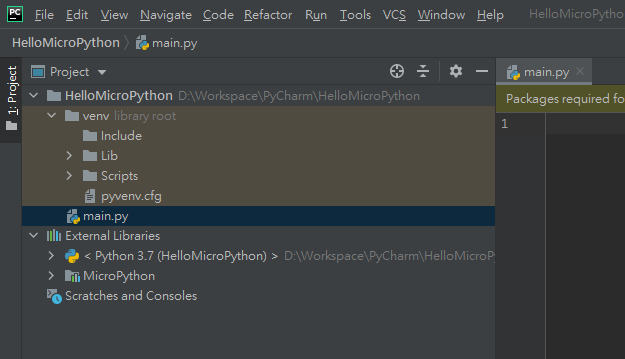


因為是 MicroPython 的專案,PyCharm 則會在這生成 main.py 檔案後, 提醒你專案還要額外安裝 Packages,如 pyserial,ampy 。



請大膽點選右側的 "Missing reqired MicroPython packages”讓 PyCharm 幫你安裝必要的軟件。


Project Structure

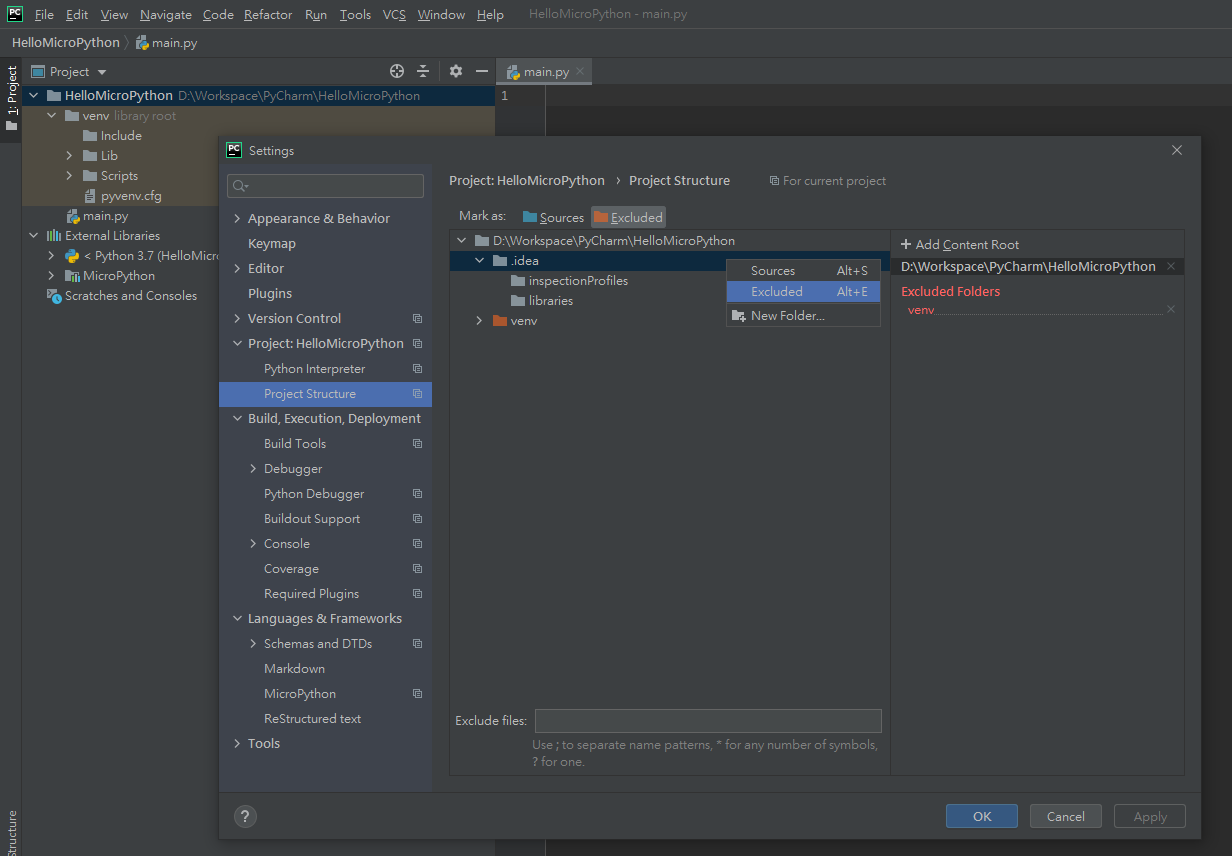
接下這步驟可做也可不做,但個人建議做,因為實在沒有必要將 .idea 這目錄下的檔案也歸類為 Source Directory。

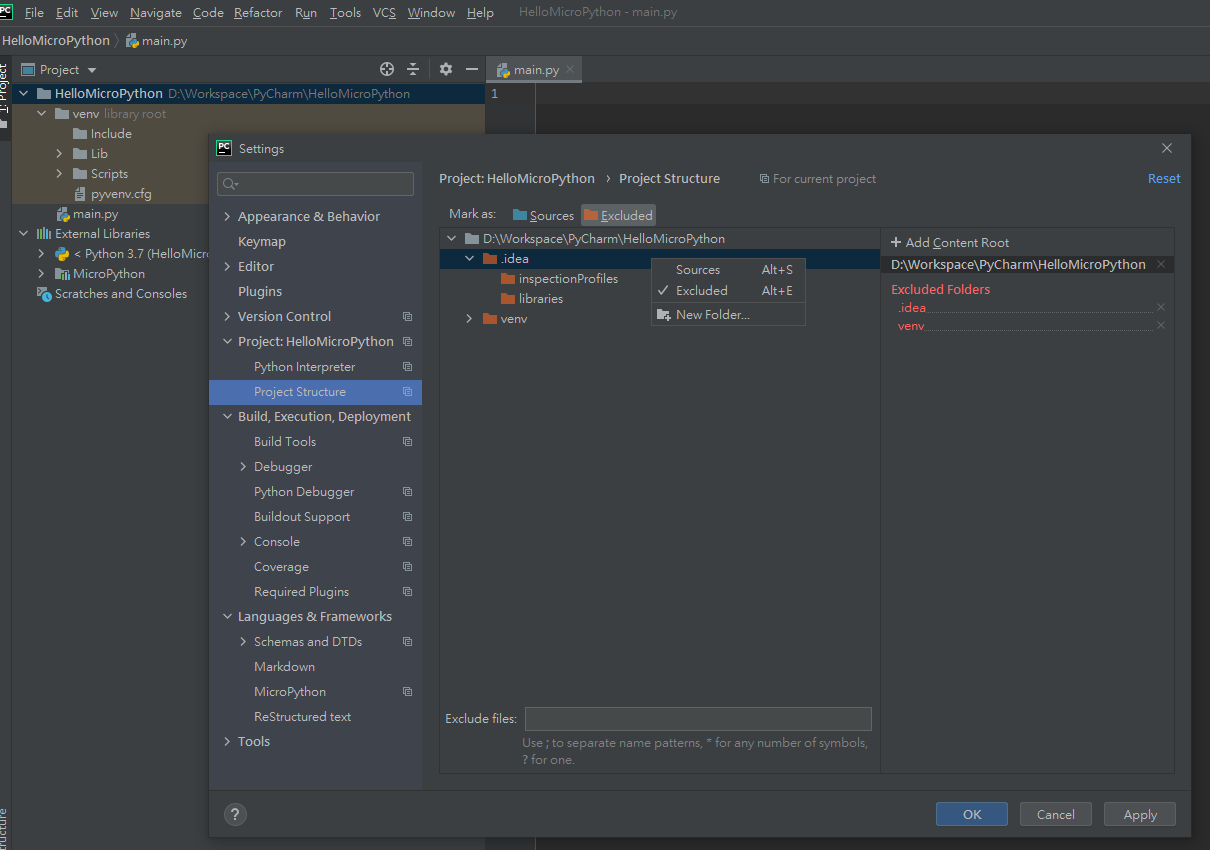
請點選 " File -> Settings ->Project: Nam of your project -> Project Structure”,然後點選 ".idea”,接著按滑鼠右鍵將 "  .idea " 這目錄 “Exclude”出 Source Directory。


下圖是 "  .idea " 這目錄 “Exclude”出 Source Directory 的畫面。


Hello MicroPython on PyCharm

完成以上的步驟後,是時候在空白的 " main.py" 輸入程式碼了!

不免俗的,我們也來段 "Hello World”吧!

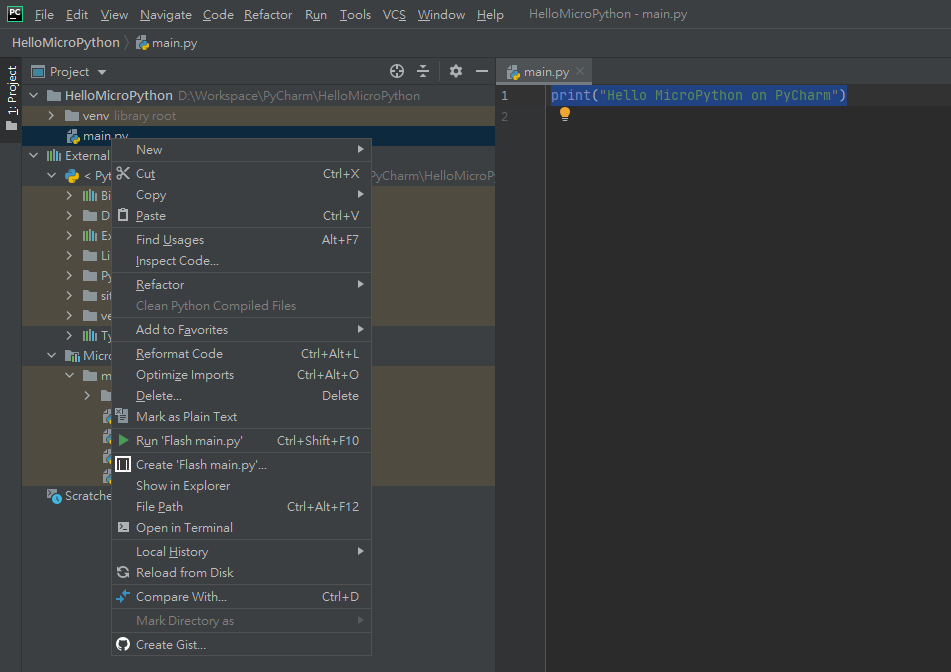
請在空白的 " main.py" 輸入print("Hello MicroPython on PyCharm")吧!


Download main.py to board

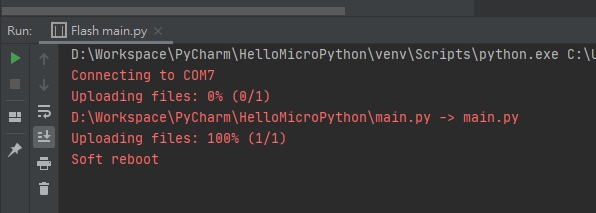
請點選 "main.py”,接著按滑鼠右鍵,選擇 Run ‘Falsh main.py’。


若板子就緒且 COM port 設定正確,你應該可以看到 main.py 被正確的下載到板子了,如下圖。


REPL

既然 main.py 已經成功的下載到板端了,當然就應該試試在 PyCharm 跑 REPL (  Read,Evaluate, Print and Loop )。

請點選 "Tools -> MicroPython ->MicroPython REPL”執行 REPL。


接著在 Terminal 視窗則會有如下的 REPL connected 的結果
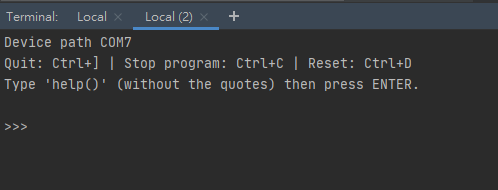


這時你不妨按下 “Ctrl+D”,來個 soft reboot,就能看到你撰寫 main.py 的執行結果了。


Run AMPY

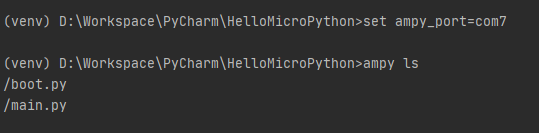
想必你也猜得到是在 Terminal 視窗執行 ampy,以下就是執行畫面的截圖。


想省去一直敲打comport 這段字串  “-p com7',可以在 Terminal 輸入如下圖的字串,來設定 comport 路徑。


以上就是 MicroPython 在 PyCharm 的使用教學,感謝閱讀!
2020年10月21日

[MicroPython 教學] Build ESP32 MicroPython Firmware


學習 MicroPython (MPY),除了瞭解如何使用他以及更改 main.py 來控制你的 Embedded Board 外;Build MPY Image 更是能深入瞭解 MP 的程式碼,客製化 MPY Image,因為 MPY 比起 Arduino ,他的優勢就是在 Package 的豐富性,官方給的都是通用的 package;想要創造差異性,唯有客製化自己的 MPY Image,不是嗎 ?


所以瞭解如何 Build MPY Image 是必要的,也是深入學習應用 MPY 的重要步驟。

以下是 ESP32 MPY Building Guide  以及 原始碼的連接

MicroPython Source Code on GitHub

ESP32 Building Guide :  MicroPython port to the ESP32

以下是我 Build ESP32 MicroPython Image 過程及步驟


  1. 取得 MicroPython v1.13 stable version source code 


git clone -b v1.13 --recursive https://github.com/micropython/micropython


  1. 在正式進入 Build ESP32 MPY Code 前,我們需要 ESP-IDF tool,

因為 ESP32 MPY 的底層還是以 C Code 完成的,所以我們還是需要

ESP-IDF tool 來 Build ESP32 底層的 C Code。

可以參考我這篇文章 ( [Arduino] Build ESP32 code on Ubuntu ),

,如何取得,設定 ESP-IDF 以及 Build ESP32 Code 或參考官方連接

 ESP32 Get Started 


  1. 這一步是 Build “ MicroPython Cross-Complier”,簡稱 mpy-cross,

它的做用是轉換 (pre-compile) Python script (.py) 成 .mpy file 檔案。

例如,原來是 foo.py 的 Python script ,透過以下command 的執行

 $ ./mpy-cross foo.py

foo.py 就轉換成 foo.mpy ,然後就可以被置放在 MPY 的檔案系統內了,

你就可透過 import foo 來使用他了。

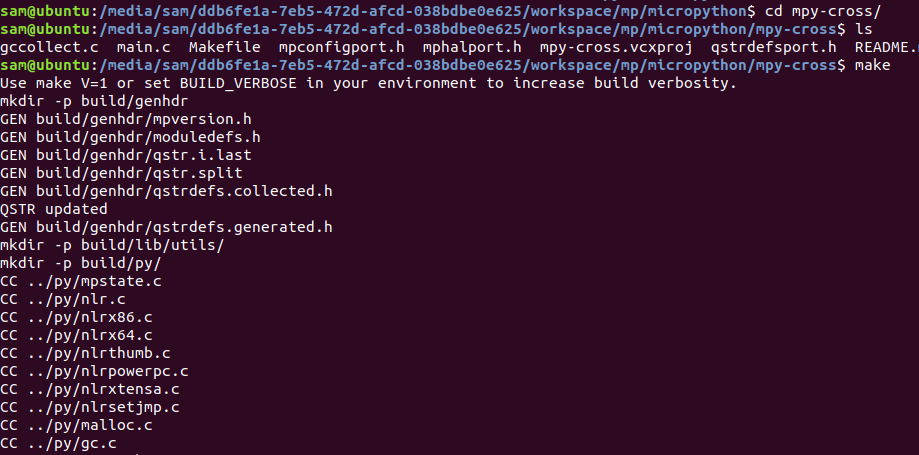
Build MicroPython Cross-Complier 的作法 :

$ cd mpy-cross

$ make


  1. 完成前面兩項前置工作後,是時候 build ESP32 MPY image 了

$ cd .. /ports/esp32

$ make


很不幸的,遇到以下的錯誤 :-(

那是因為 ESP-IDF 的路徑還沒設定


  1. 我們需要打開 Makefile 做一下修改,設定 ESP-IDF 的路徑。

$ vi Makefile

$ code Makefile (如果你有裝 Visual Studio Code)


把這一行

ESPIDF = $(IDF_PATH)

修改成這樣

ESPIDF = $(/home/sam/esp/esp-idf)

 (/sam 是我 Ubuntu account name,請改成你的)


或是直接執行 (如果你已經有安裝 ESP-IDF Tool)

. $HOME/esp/esp-idf/export.sh


  1. 再下一次 make 指令

還是遇到以下的錯誤 :-(

首先是 ESP-IDF 的版本和 MPY 使用的版本不合,所以給了以下警告!

"The build may complete and the firmware may work but it is not guaranteed",是警告所以還能繼續Build

後頭就出現錯誤了

kconfiglib.KconfigError: /home/sam/esp/esp-idf/Kconfig:185: '$COMPONENT_KCONFIGS_PROJBUILD_SOURCE_FILE' not found (in 'source "$COMPONENT_KCONFIGS_PROJBUILD_SOURCE_FILE"'). 


所以我們就乖乖的換成他支援的 ESP-IDF 的版本 (v4.0) 吧!

Supported git hash (v3.3): 9e70825d1e1cbf7988cf36981774300066580ea7

Supported git hash (v4.0) (experimental): 4c81978a3e2220674a432a588292a4c860eef27b


作法 : 

cd $IDF_PATH/


sudo git reset --hard 4c81978a3e2220674a432a588292a4c860eef27b


sudo git submodule update --init --recursive


執行上面3行指令後,記得要再執行一次

./install.sh


這樣才是真正完成 ESP-IDF 版本的切換


  1. 完成 ESP-IDF 版本的切換後,這樣就可以再下一次 make 指令了

解決了 ESP-IDF 版本不合的錯誤了,但還有新的錯誤!

這裡是顯示是 1) 已經 Build & Link 完成了 2) 在做 .bin 階段時, 出現 Python2 呼叫不到的問題。

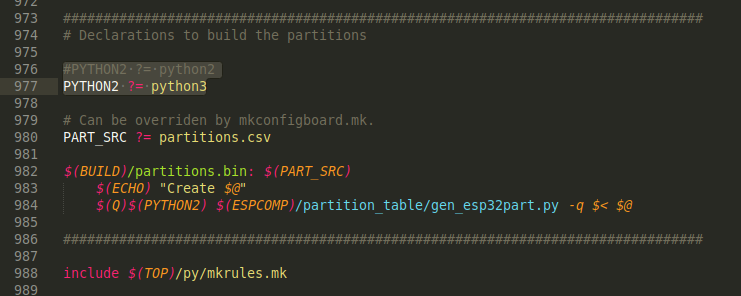
這裡的解法可以是 1) 建立一個 Python2 symlink 或 2) 直接改成呼叫 Python3,而我選擇了第2種做法。

把 行976 mark 掉,改成 行977。

完成了, 產生 firmware.bin 檔案,就放在 build-GENERIC/ folder 下

  1. 下載 MPY Image cd

這是 MicroPython 官方給的下載指令

http://micropython.org/download/esp32/


首先是清除 Flash ,尤其是有下載過 Arduino 程式碼的


esptool.py --chip esp32 --port /dev/ttyUSB0 erase_flash

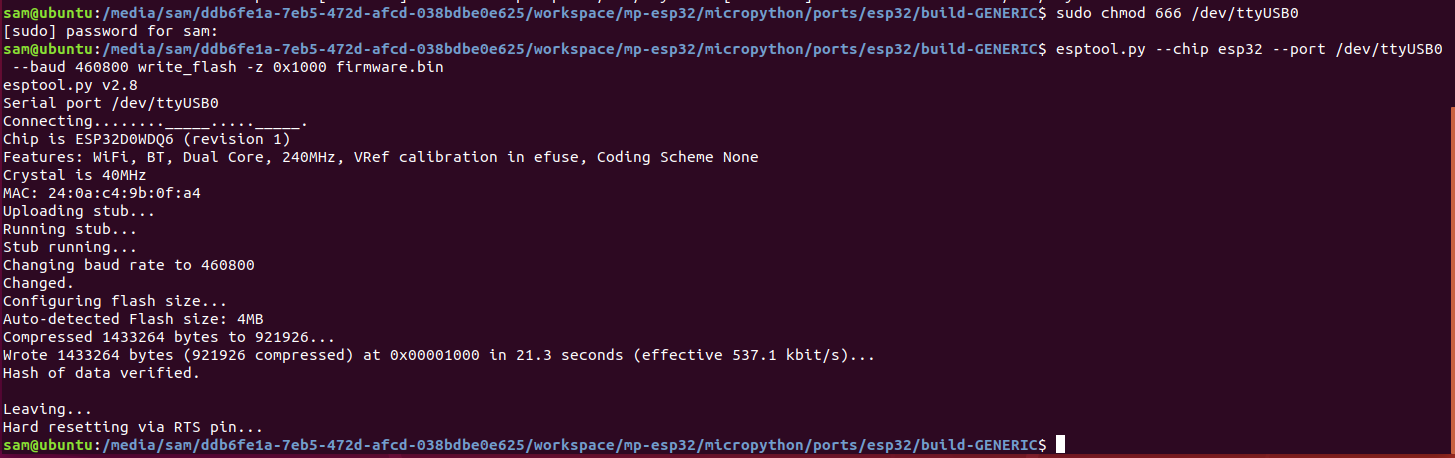
接著才是燒錄我們自己 build 過的 Image,這裡有一點要注意的是 firmware 燒錄的起始位置是在 0x1000

esptool.py --chip esp32 --port /dev/ttyUSB0 --baud 460800 write_flash -z 0x1000 firmware.bin

燒錄完成!

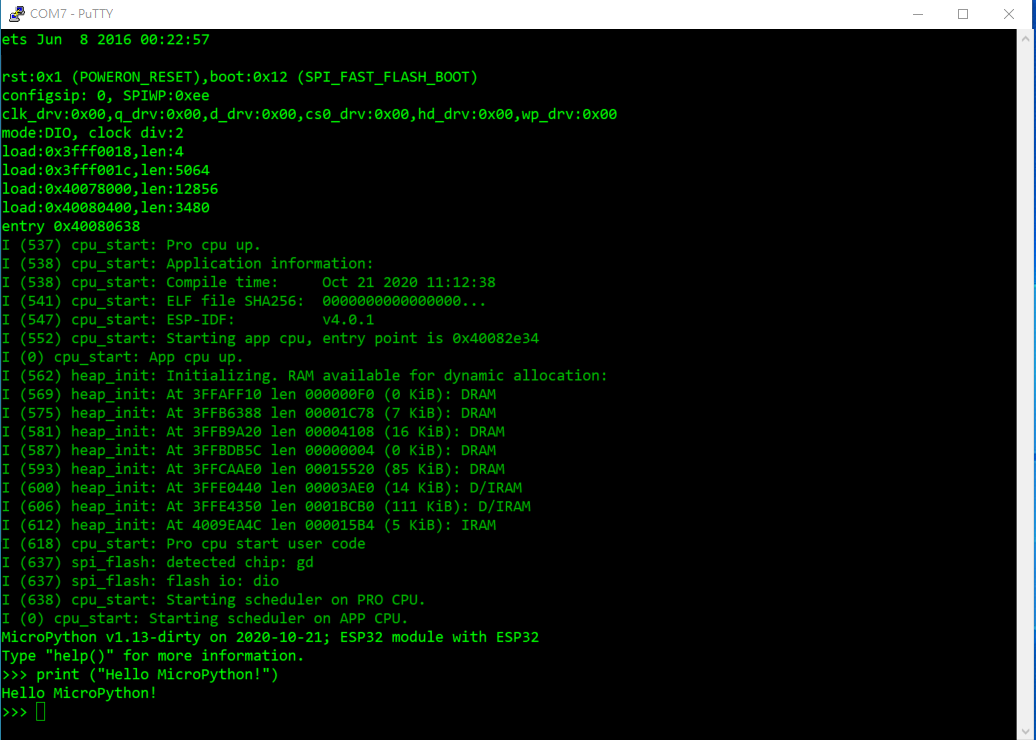
使用 PuTTY 來測試一下吧

成功!


2020年10月16日

[Arduino 教學] Build ESP32 code on Ubuntu


先前在收到 ESP-CAM 這塊開發板時,曾經在 Ubuntu 下 build 過 ESP32 的 原始碼,

請參考這篇文章  ESP32-CAM ( Ai-Thinker Module )

最近在玩 MicroPython (MP) ,想深入研究 MP,就必須自己 Build Code 研究,

上次 (ESP32-CAM ( Ai-Thinker Module )) 沒把過程詳細記入下來,

如今在 Ubuntu VM 下又實作一次,又是跌跌撞撞的,做到一半就想把過程步驟寫下來,

希望對日後有幫助。


這次改在 Ubuntu 18.04 VM 來建立開發環境,方便 Ubuntu 以及 Windows 10 同時操作

,文章也可即時撰寫。不廢話了,進入步驟描述吧!


步驟 :

1. Get ESP-IDF

1.1 Change directory to your working directory

1.2 Create an ESP folder at your working directory

sudo mkdir -p esp

cd esp

1.3 Download ESP-IDF under esp folder

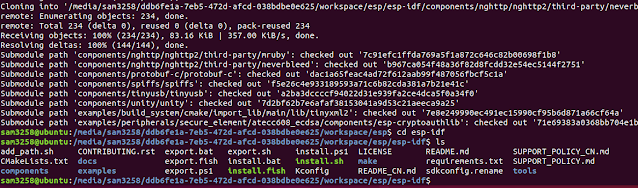
sudo git clone --recursive https://github.com/espressif/esp-idf.git

1.4 做到 1.3 這一步,遇到一個 Error : "Command 'git' not found"

那是因為新裝好的 Ubuntu 18.04 VM,還沒裝任何 Package。

So, I need to install git first then run step 1.3 command again

 sudo apt-get install git


  Result from step 1


2. Setup ESP-IDF Tools

2.1 Change directory to /esp-idf by below commands

cd esp-idf    

         2.2 Execute below command to install ESP-IDF Tools

./install.sh

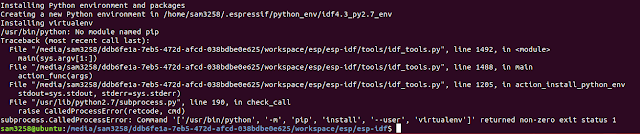
2.3 做到這一步,還是因為新裝好的 Ubuntu 18.04 VM,還沒裝任何 Package,

      Python 以及 Python-pip 沒有安裝。


                Please execute the below commands to install them。

                sudo apt-get install python

                sudo apt-get install python-pip


                If you want to install Python3, run below commands

                sudo apt-get install python3

      sudo apt-get install python3-pip


     After installed Python package if you still meet below error 

                /usr/bin/env: ‘python’: No such file or directory


                Please execute below commands to create a symlink

                sudo ln -s /usr/bin/python3 /usr/bin/python


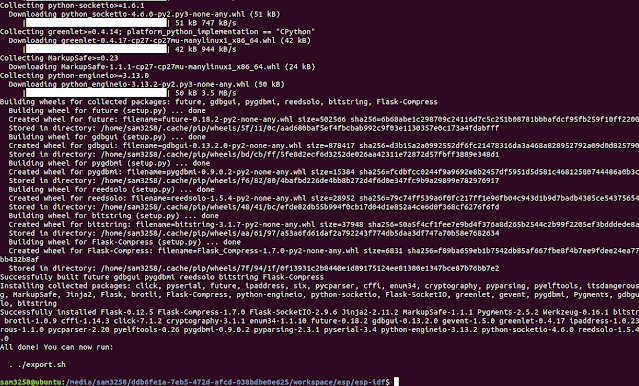
    Result from step 2


3. Setup the environment variables

3.1 Every time, you want to build code before, please run below

command to setup the environment variables

. ./export.sh

or

. $HOME/esp/esp-idf/export.sh

Result from step 3


4. Start a project by using built-in examples

4.1 Copy built-in example "Blink" under \esp folder 

        cd $IDF_PATH/..

        sudo cp -r $IDF_PATH/examples/get-started/blink .

4.2 Need cmake tool before build, please run below command to install it,    

otherwise you will get an error as below 

          sudo apt-get install cmake


5. Connect ESP32 board to PC

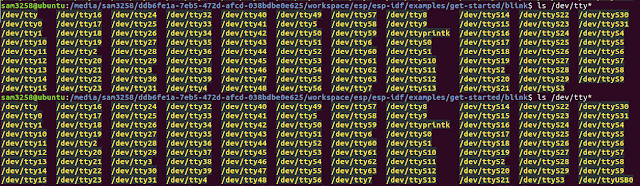
5.1 Run below command before and after to get serial port number

        ls /dev/tty*

In my result, the serial port number from my two runs is

          /dev/ttyUSB0


6. Configure then physical build

6.1 Configure target build by execute below command

           idf.py set-target esp32

PS: Setting the target with  idf.py set-target esp32 should be 

done once, after opening a new project.

If the project contains some existing builds and configuration,

they will be cleared and initialized.

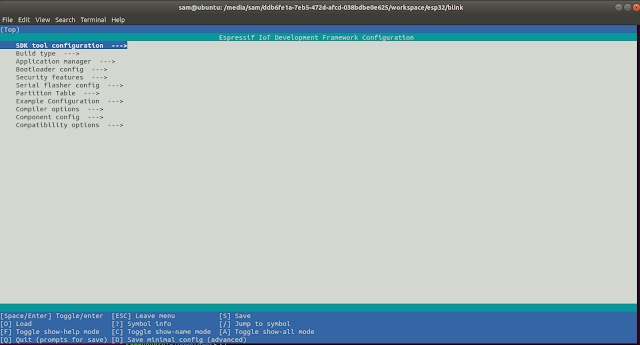
6.2 Execute below command to check build environment,

the following menu will appear if previous steps are correct.

      idf.py menuconfig

6.3 Execute below command to physical build.

      idf.py build

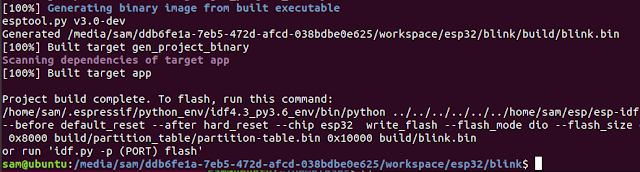
Build Complete Result


7. Flash code 

7.1 From result screen, already tell us to run idf.py -p (port) flash command

to flash code。

Before flash code, please execute below command to get serial port right 

sudo chmod 666 /dev/ttyUSB0

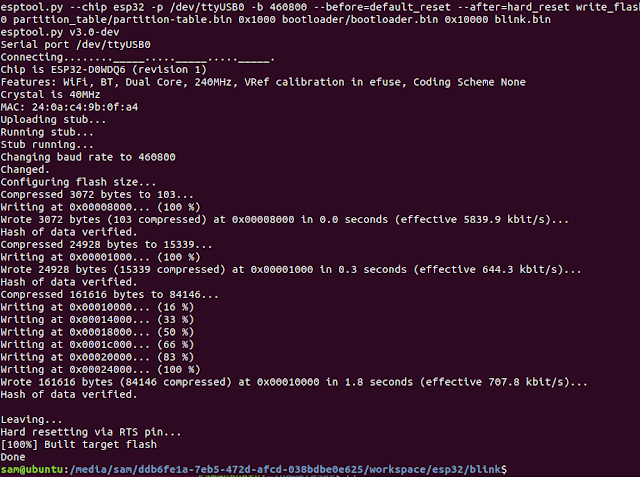
7.2 It's time to flash code now 

          idf.py -p /dev/ttyUSB0 flash

7.3 把 LED delay time 從 1000ms 改成 500ms,讓 LED 閃爍快些;

重新再Build &  Flash 一次;看是否如預期。


後記 : 


前面 ESP-IDF 的版本是使用 Master / 當時 Latest 的版本, 並非正式 Release 版本,

在 Build MicroPython Image 時遇到了問題,因為 MicroPython 只支援 ESP-IDF v3.0

以及 v4.0,所以我就重新安裝成  MicroPython 所支援的  v4.0。

重新再 Build 一次 Blink Project 發現 v4.0 和 Master 的差異有些大。

以下就是差異點 :

1. idf.py set-target esp32” command is not support,直接下“idf.py menuconfig

2. 下“idf.py menuconfig”command 後,會有一堆 Errors,那是因為還缺一些 packages

要再執行以下commands 安裝 packages

$ sudo apt-get install libncurses5-dev libncursesw5-dev

$ sudo apt install flex gperf bison

這樣才能順利執行 “idf.py menuconfig”以及“idf.py build


熱門文章